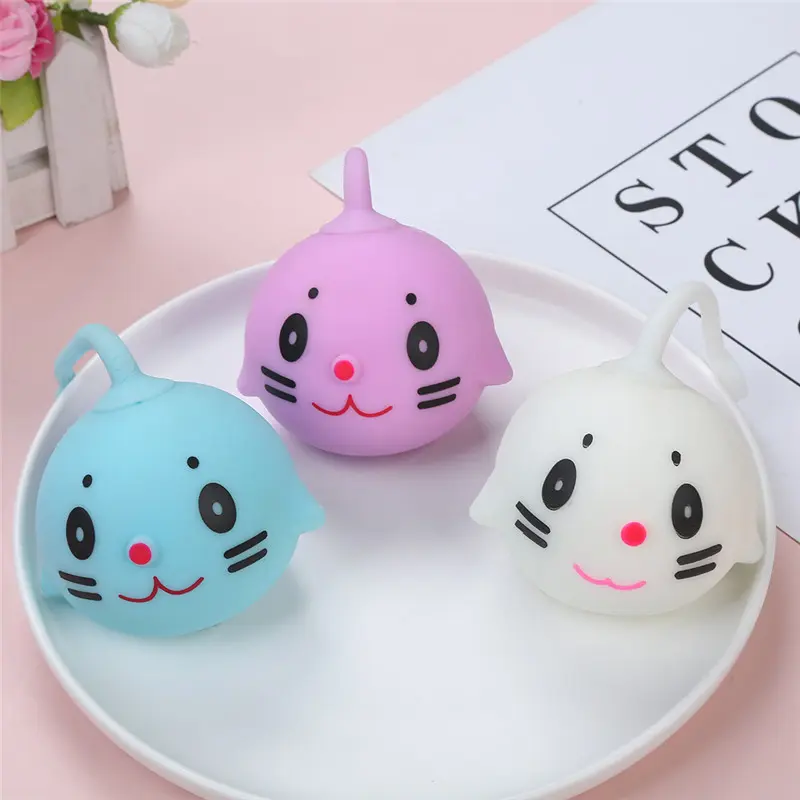
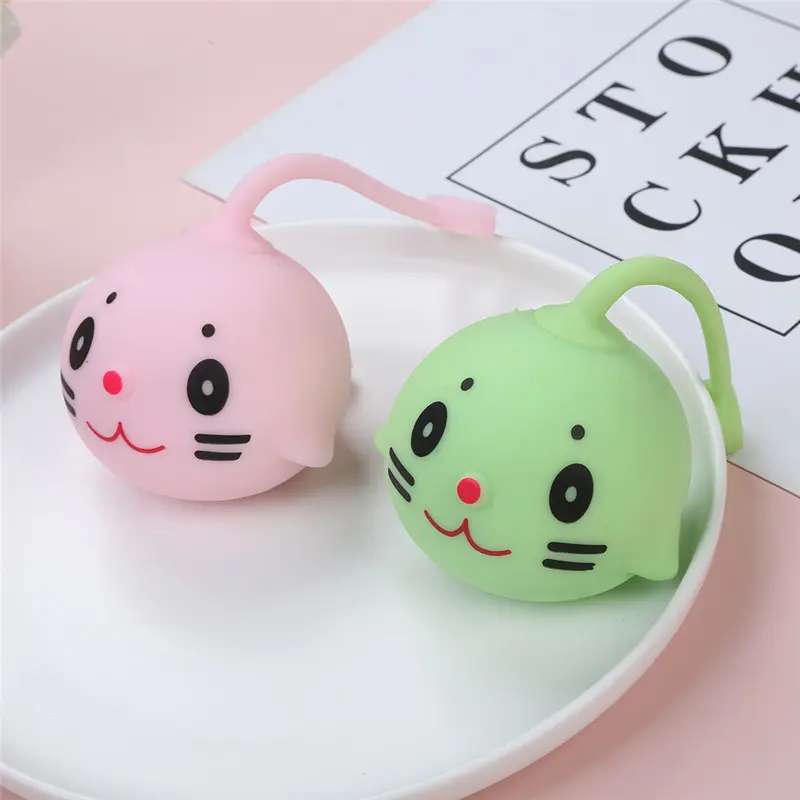
Stress balls have been a popular stress relief tool for years. They are great for relieving tension and anxiety and can provide a fun and easy way to relax. In this blog post, we’ll explore how to make a homemade stress ball that’s sure to bring joy and relaxation to young and old alike.
There are a number of different materials you can use when making a stress ball at home. One of the most popular options is to use balloons and fill them with various materials. You can also use other household items such as rice, flour, and even play dough. In this article, we’ll explore the different options for filling homemade stress balls and provide step-by-step instructions for making your own.
Before we dive into the various options for filling a stress ball, let’s take a closer look at the benefits of using a stress ball. Stress balls are great for relieving tension and anxiety and help improve focus and concentration. They are also a fun and easy way to relax and are suitable for people of all ages. Whether you’re a student looking to relieve exam stress or a busy professional in need of a quick break, a stress ball can be an invaluable tool in your relaxation arsenal.
Now, let’s look at the different materials you can use to fill homemade stress balls:
1. Rice: Rice is a popular choice for filling stress balls because it is easy to work with and has a nice, firm texture. To use rice as a filling, simply fill the balloon with the desired amount of rice and tie the ends into a knot. You can also add a few drops of essential oil to the rice for a calming aroma.
2. Flour: Flour is another common choice for filling stress balls, providing a soft and moldable texture. To use flour as filling, fill a balloon with the desired amount of flour and tie off the ends. You can also add food coloring to the flour for a pop of color.
3. Playdough: Playdough is a fun and colorful option for filling stress balls and provides a soft, fun texture. To use plasticine as a filling, simply roll the plasticine into small balls and fill the balloon with the desired amount and tie the ends. You can also mix different colors of play dough to create vibrant and eye-catching stress balls.
Now that we’ve explored the different options for filling homemade stress balls, let’s move on to step-by-step instructions on how to make your own:
1. Choose your filling: Decide which filling material you want to use for your stress ball (rice, flour, play dough, etc.).
2. Prepare the balloon: Stretch the balloon to make it easier to fill. You can also choose balloons in colors that bring you joy and relaxation.
3. Fill the balloon: Using a funnel or simply pouring carefully, fill the balloon with the desired amount of your chosen filling material.
4. Tie the ends: Once the balloon is filled, carefully tie the ends to secure the filling inside.
5. Add decorations (optional): If you want to add a personal touch to your stress ball, you can decorate the outside of the balloon with markers, stickers, or other embellishments.
6. Enjoy your homemade stress ball: Once your stress ball is complete, squeeze it and feel the stress disappear. You can place a stress ball on your desk, in your bag, or anywhere you need to relax quickly.
All in all, making homemade stress balls is a fun and easy DIY project for people of all ages. Whether you choose to fill your stress ball with rice, flour, play dough, or other materials, the end result is sure to bring joy and relaxation. By following the step-by-step instructions provided in this article, you can easily create your own stress ball and enjoy the stress relief and relaxation benefits. So gather your materials and get ready to melt away the stress with your own homemade stress ball!
Post time: Jan-02-2024

