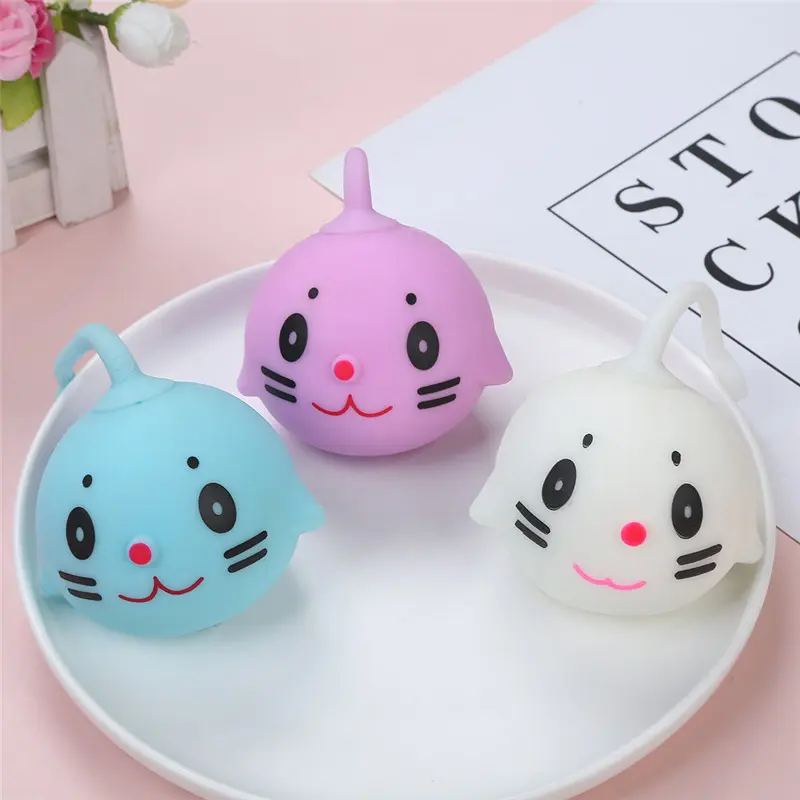
Stress balls are a popular tool for relieving tension and anxiety. They are small, soft objects that can be squeezed and manipulated to help reduce stress and promote relaxation. Many people use stress balls to control stress levels, and they can be found in offices, classrooms, and homes around the world.
One creative way to customize your stress balls is to place one balloon inside another. This adds an extra layer of softness and softness to the stress ball, making it more pleasant to use. In this article, we’ll explore the step-by-step process of placing one balloon inside another to create a unique and personalized stress ball.
materials needed:
To start this DIY project, you will need the following materials:
Two balloons (different colors or patterns of stress balls are more visually appealing)
Stress balls (store-bought or homemade)
Scissors
Optional: a funnel to help insert the second balloon into the first balloon
Step 1: Prepare the Balloons
Start by inflating both balloons to a size slightly smaller than the pressure ball. This will ensure that the pressure ball stretches the balloon slightly when inserted, creating a snug fit. Be gentle when inflating your balloon to avoid overstretching or bursting it.
Step 2: Insert the first balloon
Take the first inflated balloon and carefully stretch the opening over the stress ball. Gently place the balloon over the stress ball, making sure it covers the entire surface evenly. Smooths out any wrinkles or air pockets to create an even layer around the stress ball.
Step 3: Insert the second balloon
Now, take the second inflated balloon and stretch the opening over the pressure ball covered by the first balloon. This step requires more skill as you need to carefully place the second balloon into the space between the stress ball and the first balloon. If you have trouble inserting the second balloon, you can use a funnel to help guide it into place.
Step 4: Adjust and Smooth
After placing the second balloon into the first, take a moment to adjust and smooth out any wrinkles or uneven areas. Gently massage the pressure ball to ensure even distribution of the balloon and to ensure the ball maintains its shape.
Step 5: Trim excess balloon
If there is excess balloon material protruding from the stress ball, carefully cut it off with scissors. Be sure to leave a small amount of extra balloon material to prevent the stress ball from bursting.
Step 6: Enjoy your customized stress ball
Once you complete these steps, you will have successfully placed one balloon inside another, creating a unique and personalized stress ball. The added softness and suppleness enhances the tactile experience of using a stress ball, making it more effective at relieving stress.
Benefits of Customized Stress Balls
Creating a customized stress ball by placing one balloon inside another has several benefits:
Enhanced texture: Additional layers of balloon material add a new texture to the stress ball, making it more pleasant to touch and handle.
Personalize: By choosing different colors or patterns of balloons, you can create a stress ball that reflects your personal style and preferences.
Enhanced Pressure Relief: The added softness and suppleness of custom stress balls can enhance their pressure relief properties, providing a more satisfying sensory experience.
All in all, customizing your stress balls by placing one balloon inside another is a fun and creative way to enhance the tactile experience of using a stress ball. By following the step-by-step process outlined in this article, you can create a unique and personalized stress ball that is both visually appealing and effective at relieving stress. Whether you use it at work, school, or home, a customized stress ball can be an invaluable tool for managing stress and promoting relaxation.
Post time: May-20-2024