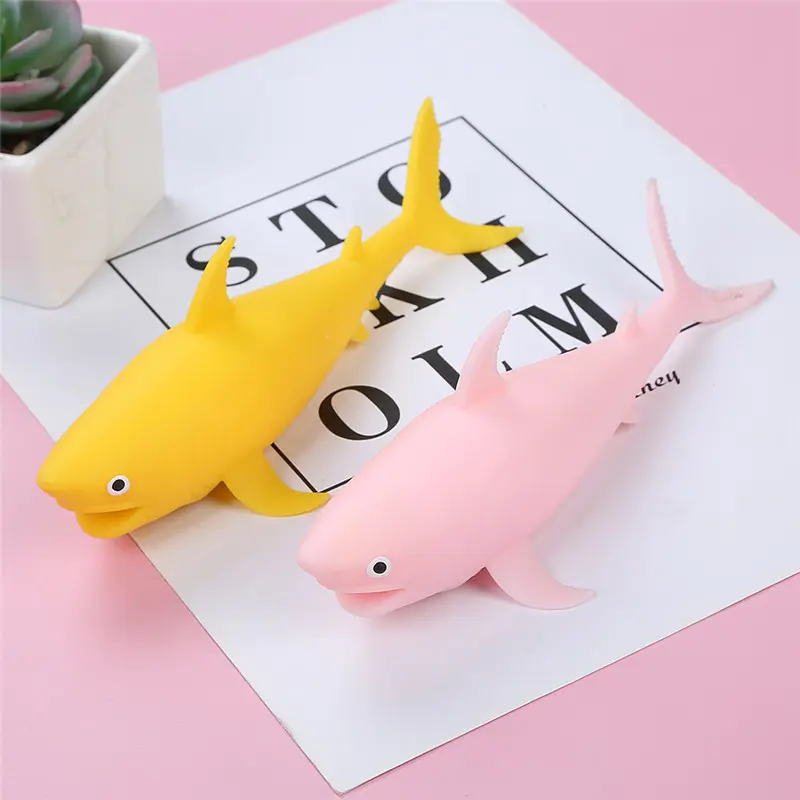
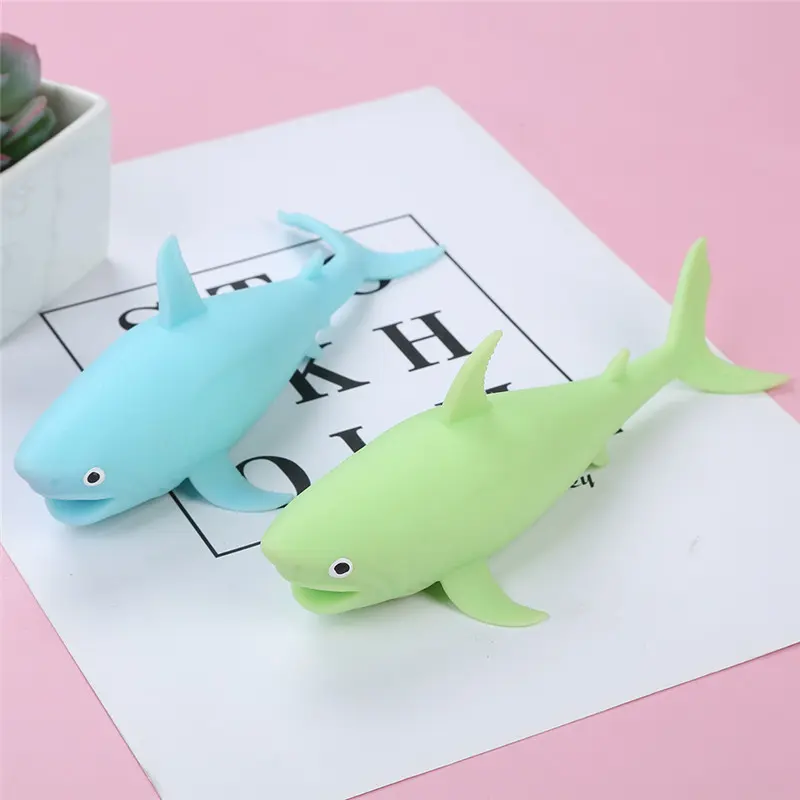
In today’s fast-paced world, stress has become a common phenomenon in many people’s lives. Whether it’s due to work, school, or personal issues, managing stress is crucial to maintaining good mental and emotional health. A popular and effective way to relieve stress is to use a stress ball. These soft little balls are great for squeezing and playing with and help relieve tension and anxiety. If you’re looking for a fun and creative way to make your own stress balls at home, you’ve come to the right place! In this blog, I’ll guide you through a simple and cost-effective DIY project to create your own stress ball.
First, let’s gather the materials you need:
- Balloons (thick, durable balloons work best)
- cornstarch or flour
- Funnel
- Empty plastic bottles
- water
- mixing bowl
- spoon
After preparing all the materials, we start making the stress ball:
Step 1: Prepare the filling
First, you need to make the filling for your stress ball. Start by mixing equal parts cornstarch or flour and water in a mixing bowl. Stir the mixture with a spoon until it forms a thick, sticky consistency. You want the filling to be thick enough to hold its shape, but not so thick that it’s difficult to squeeze.
Step Two: Transfer Filling to Balloon
Using a funnel, carefully pour the filling into the empty plastic bottle. This makes it easier to transfer the filling to the balloon without making a mess. Carefully pull the opening of the balloon over the mouth of the bottle and slowly squeeze the filling into the balloon. Make sure not to overfill the balloon as you will still need to tie it off at the end.
Step 3: Tie the balloon tightly
Once the balloon is filled to the desired level, carefully remove it from the bottle and tie the opening to secure the filling inside. Make sure the knot is tight to prevent the filling from spilling out.
Step 4: Stack the balloons
To ensure your stress ball is durable and less likely to burst, double the filled balloon by placing it inside another balloon. This extra layer will provide your stress ball with more strength and elasticity.
Step Five: Shape Your Stress Ball
After double bagging the balloon, use your hands to shape the stress ball into a smooth round shape. Squeeze and manipulate the ball to evenly distribute the filling and create a comfortable and satisfying squeeze texture.
Congratulations! You have successfully made your own stress ball at home. Not only is this DIY project a fun and creative way to relieve stress, but it’s also a great way to save money on expensive stress balls. You can personalize your stress balls by using different colored balloons or adding glitter or beads to the filling for a unique and customized touch.
In addition to being an amazing stress reliever, these homemade stress balls are great for children and can be used as sensory toys for those with ADHD or autism. The act of squeezing and manipulating a stress ball can provide a calming and soothing effect, making it a useful tool for managing anxiety and promoting focus and relaxation.
All in all, making your own stress balls at home is a simple and fun DIY project that can provide countless benefits for children and adults alike. With just some basic materials and a little creativity, you can create a personalized stress ball that’s perfect for relieving tension and promoting relaxation. So, why not give it a try today and start enjoying the therapeutic benefits of homemade stress balls?
Post time: Dec-18-2023

